


Using the DocuSign add-in for Outlook
These instructions are for users who already have a DocuSign license. To request a DocuSign license, please contact [email protected].
This Outlook add-in cannot be used with DocuSign templates.
Sign a document sent to your email
Step One: Open the email message in Outlook
On the right of the email, you will see the ‘Apps’ icon.
Click the icon and select DocuSign. If you do not see the DocuSign icon, click ‘Add Apps’ and select the DocuSign logo.
Step Two: Log into DocuSign
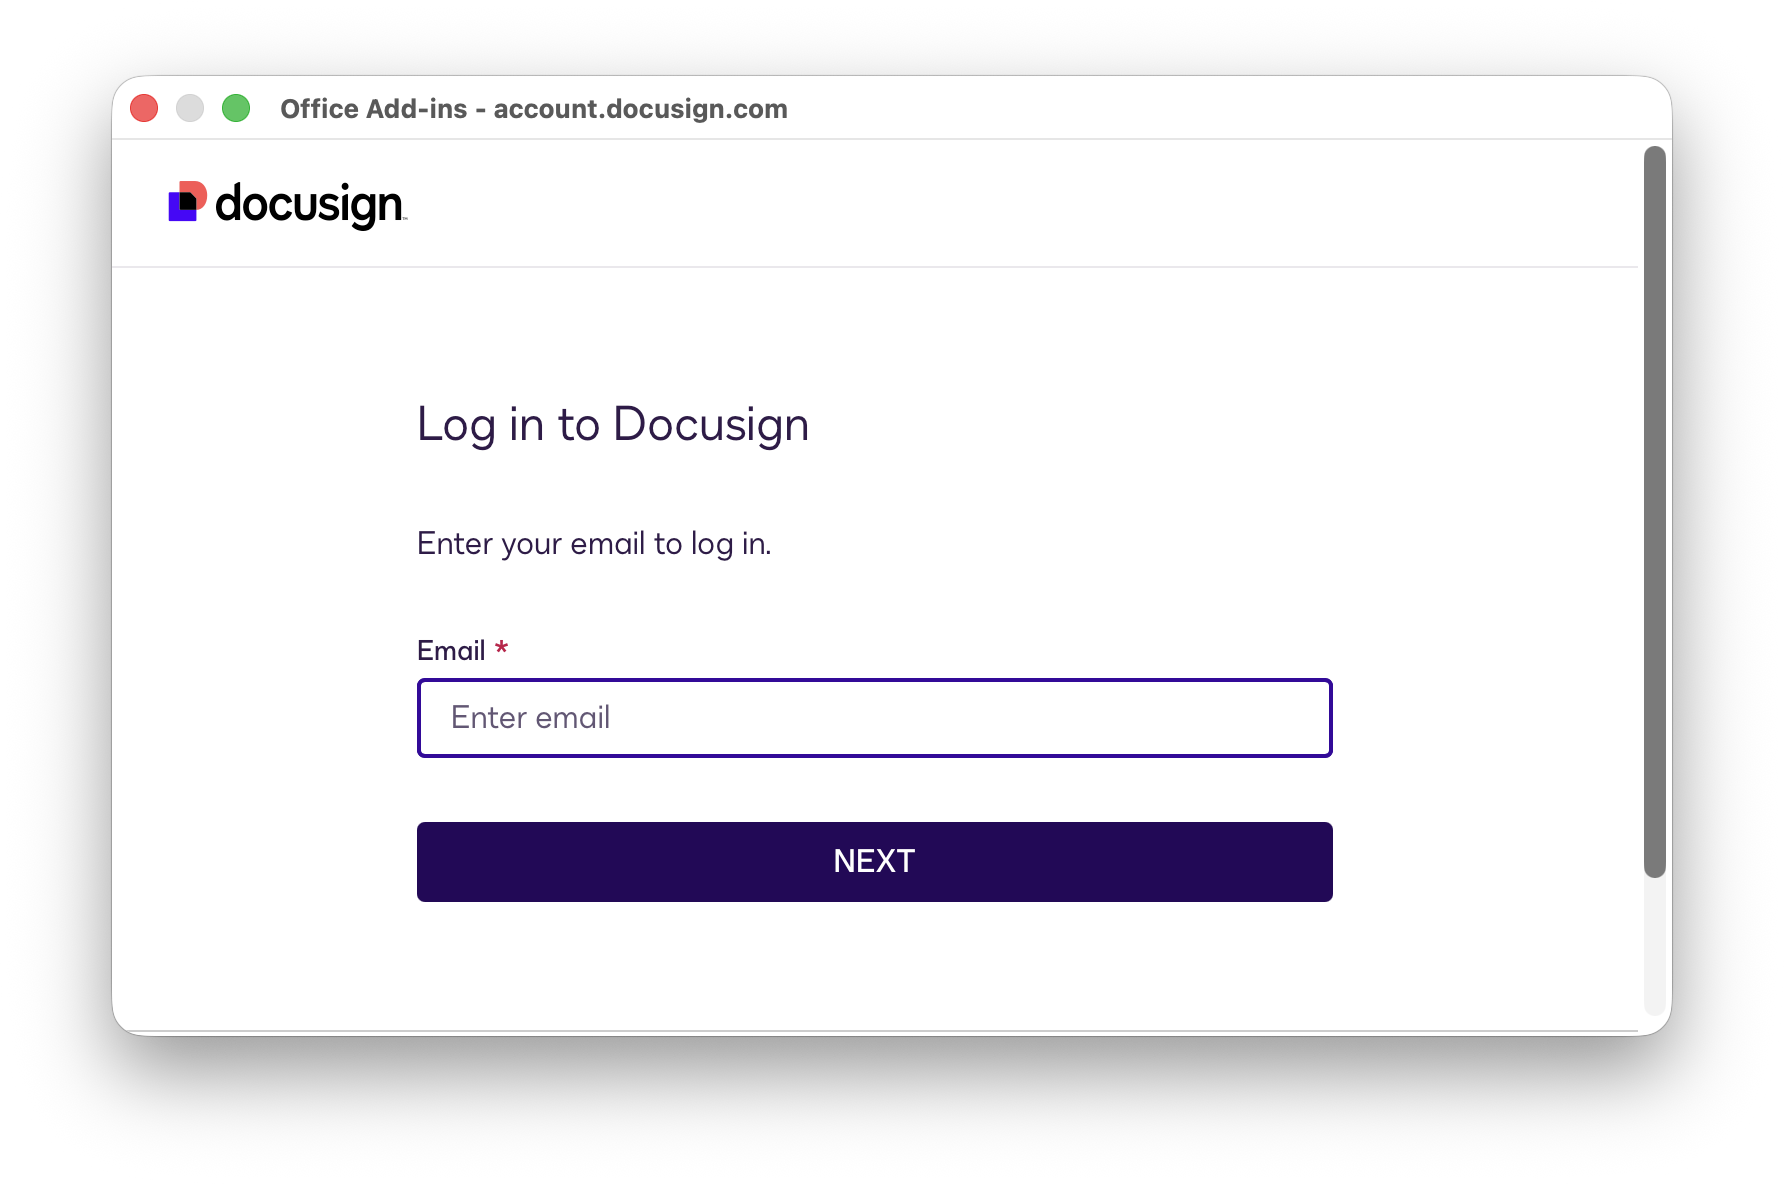
A dialog box will open which will allow you to log into DocuSign
Click ‘Log In’
Enter your UC Davis email- go through the ADFS log in and DUO authentication
If you have access to multiple UC Davis accounts, it will ask you to select the account you want to use for this signature. Generally, it will be the Finance, Operations and Administration account. Click on ‘USE THIS ACCOUNT’
If you only see UC Davis Main, you have not been provisioned a profile in DocuSign. Please email [email protected].
Step Three: Add Documents
The document attached to the email will automatically be added to the envelope.
If you need to add additional documents, use the ‘Upload’ button.

Step Four: Sign the document
Choose 'Sign Now.' A box will pop up to confirm your account, select ‘Continue’
The document will be loaded into a signing page.
Click on the location you want to add text/signature/date, and a toolbox will pop up.
Select the tool for the action you want to take
Use your cursor to drag the boxes to the correct spot
When you are done, click on the yellow ‘Finish’ button at the top of the page.

Step Five: Return the signed document to requestor
Select ‘Send by Email’
Enter the email address of the person you are returning this signed document to.
Select ‘Send Email’
Request a signature from your email
Step One: Open an email (new draft or email you received)
On the right of the email, you will see the ‘Apps’ icon.
Click the icon and select DocuSign. If you do not see the DocuSign icon, click ‘Add Apps’.
Step Two: Log into DocuSign
A dialog box will open which will allow you to log into DocuSign
Click ‘Log In’
Enter your UC Davis email- go through the ADFS log in and DUO authentication.
If you have access to multiple UC Davis accounts, it will ask you to select the account you want to use for this signature. Generally, it will be the Finance, Operations and Administration account. Click on ‘USE THIS ACCOUNT’
If you only see UC Davis Main, you have not been provisioned a profile in DocuSign. Please email [email protected].
Step Three: Add Documents
If you have received the document via email, it will auto-populate in the attachment box. If you are starting from a new email, use the ‘Upload’ to add a document.
Step Four: Request Signatures
Choose ‘Request signatures’
A panel will open and you will need to enter the recipient’s name and recipient email address. If you have more than one recipient, click the ‘Add Recipient’ button.

Step Five: Prepare Document
Once all of the recipients have been identified, click ‘Send Now’
A DocuSign envelope will be drafted and will open on the recipient workflow page, allowing you to:
Set signing order, Change the recipient action (needs to sign, cc, etc), Edit the default Email subject line, Add a message

Step Six: Add Signature or Action Lines
Click on ‘Next’ to add Signature or action lines
If you have multiple recipients, each one will have a unique color. Toggle between recipients on the top-left drop-down to assign their actions.
Step Seven: Route the Document
‘Send Now’ to initiate the routing of the document.