


Send a document for signature directly from Box using the DocuSign – Box.com integration
These instructions are for users who already have a DocuSign license. To request a DocuSign license, please contact [email protected].
This 'send a document' function cannot be used with DocuSign templates.
Step One: Log into Box.com
(One-time setup): On the left panel, select ‘Integrations’ and then select ‘DocuSign’. Authorize the use.
Navigate to the folder or document that you want to route via DocuSign.
From the Folder: Click on the 3 dots to get to additional actions, then ‘Integrations’ and then ‘DocuSign’ OR
From the document: Select the DocuSign icon on the right panel

Step Two: Log into DocuSign
After selecting the DocuSign icon, a dialog box will open. Click ‘Log In,’ enter your UC Davis email and go through the ADFS log in and DUO authentication process.
If you have access to multiple UC Davis accounts, it will ask you to select the account you want to use for this signature. Generally, it will be the Finance, Operations and Administration account. Click on ‘SELECT’
If you only see UC Davis Main, you have not been provisioned a profile in DocuSign. Please email [email protected].
Step Three: Send DocuSign Envelope
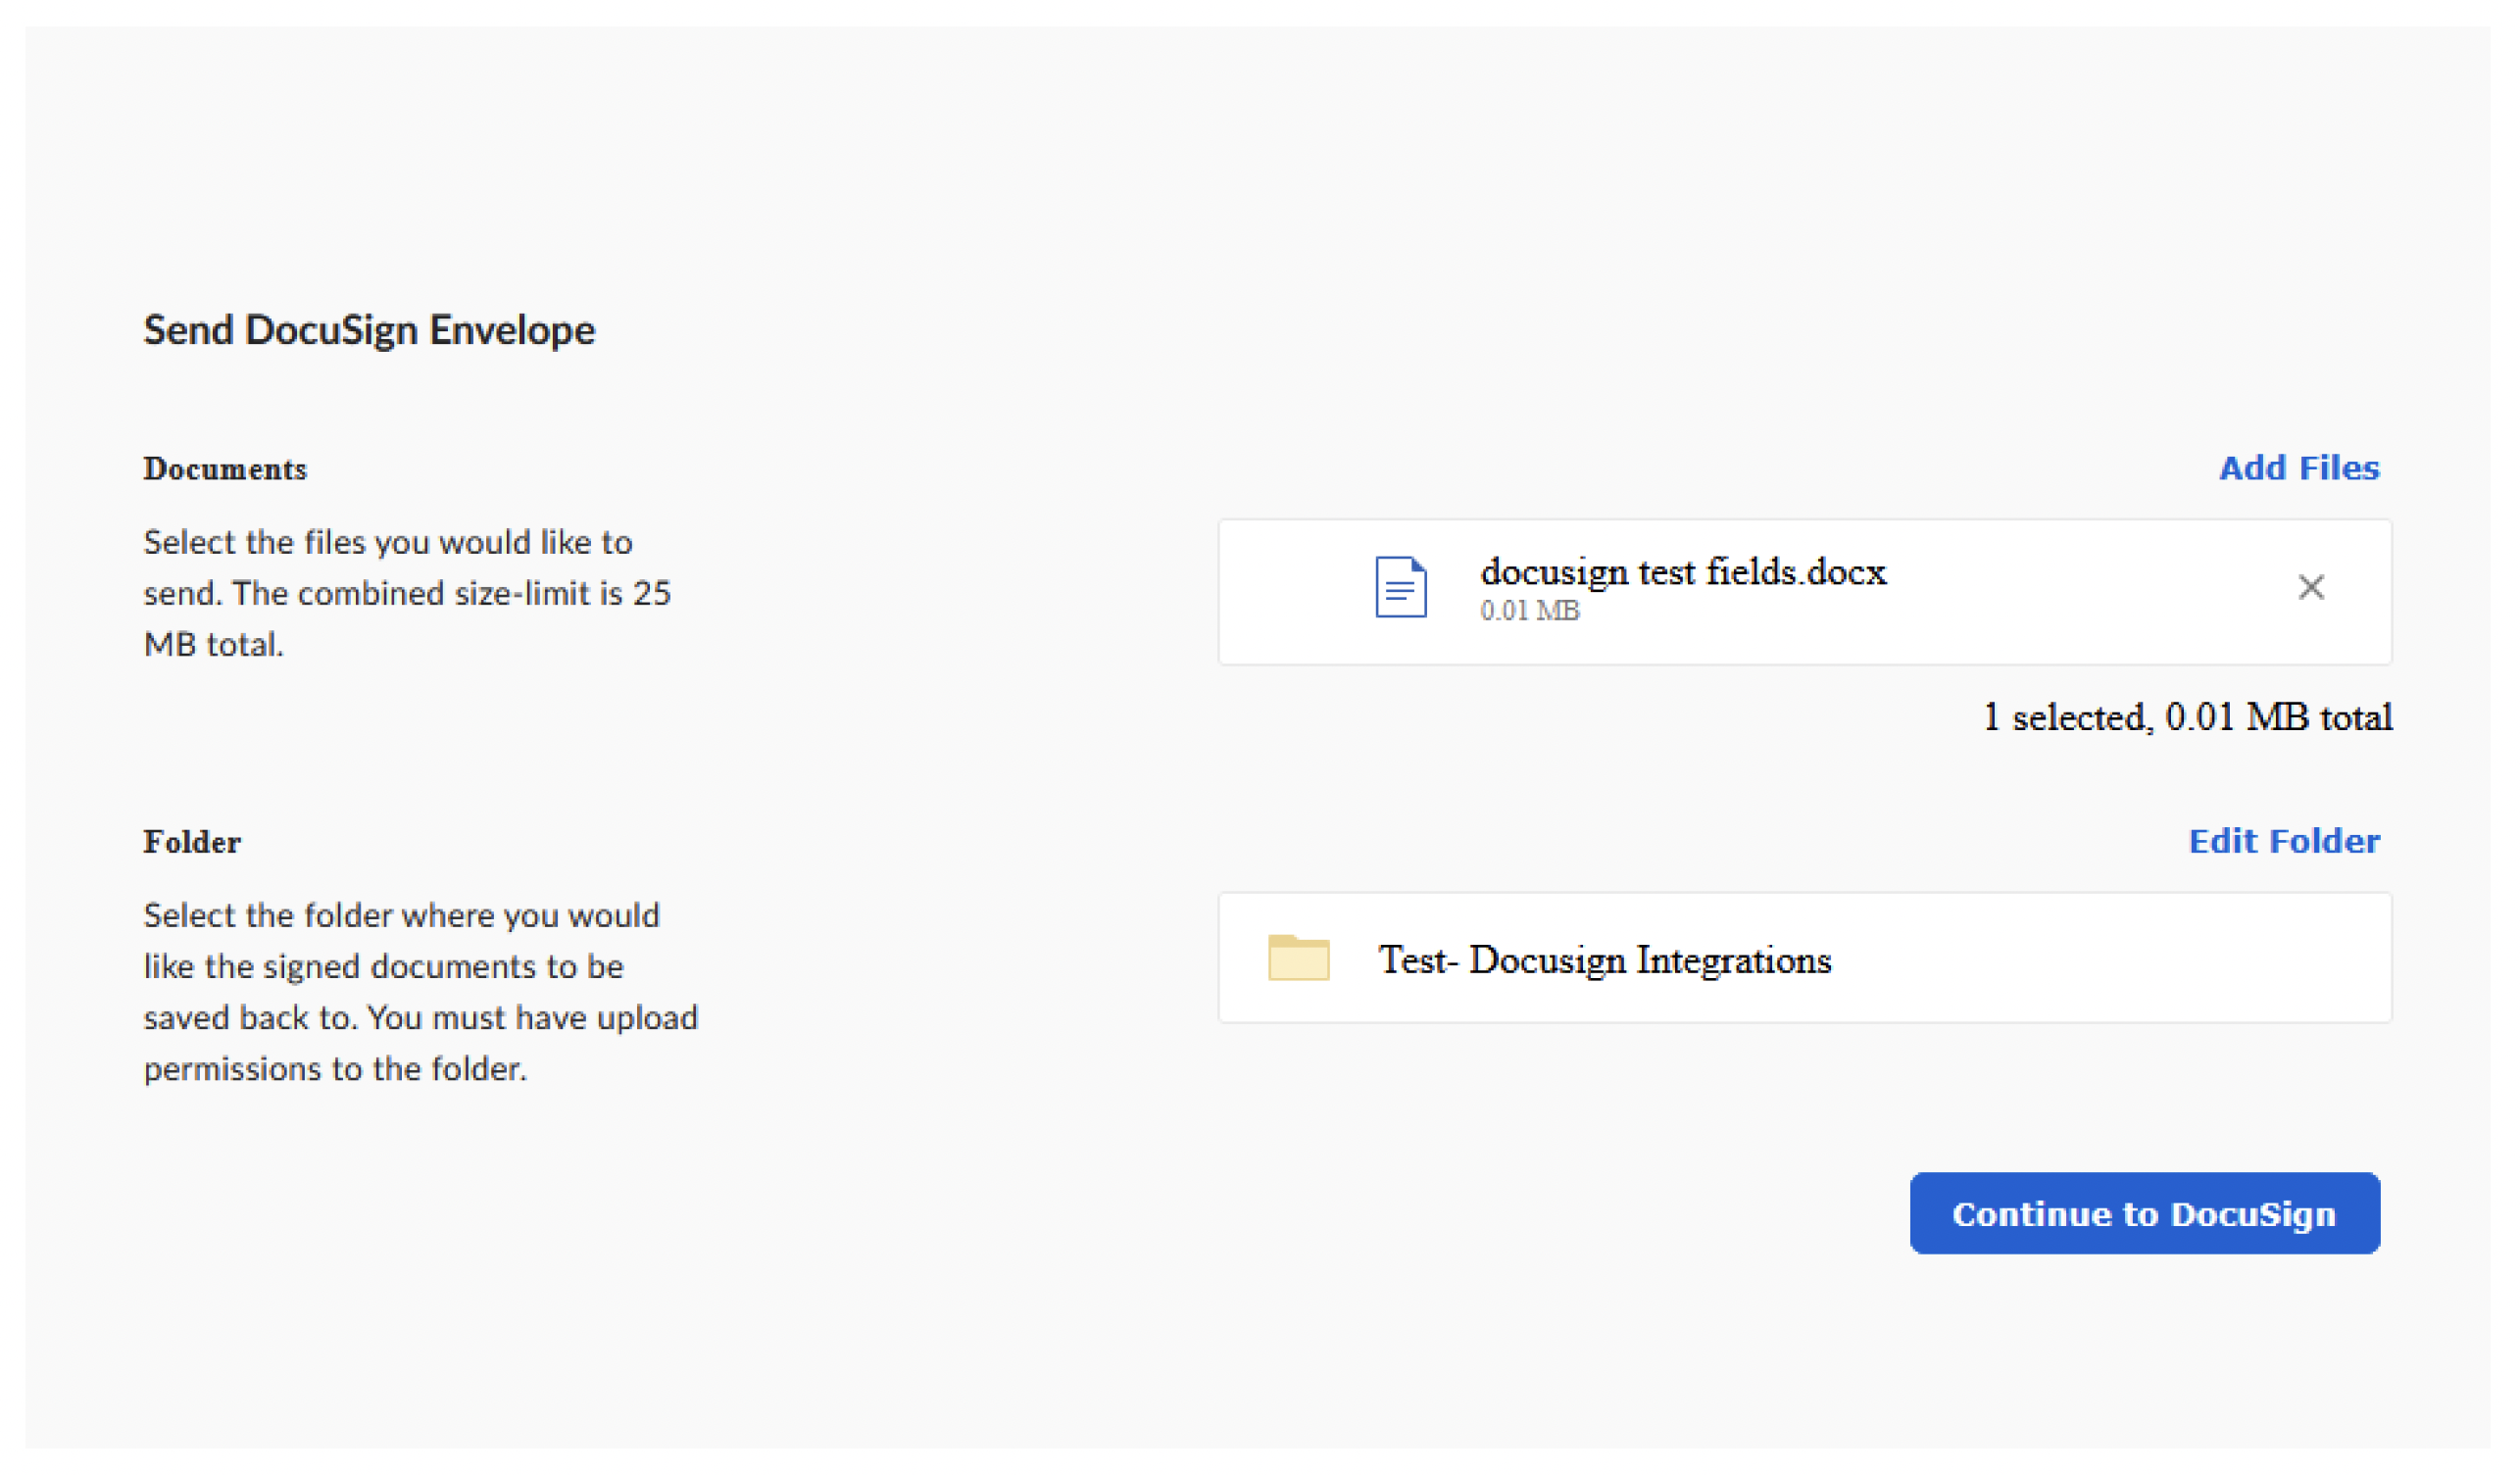
You will get a dialog box called ‘Send DocuSign Envelope’
Verify the document. If you want to choose another document, click ‘Add Files’ and select the correct document.
Verify the folder. The folder listed is the location the completed document will route to. If you would like to route it somewhere other than the starting location, click ‘Edit Folder’ and select the folder you want the signed document to return to.
Click on ‘Continue to DocuSign’
Step Four: Update the DocuSign recipients and actions
Click on Add Recipients on the top left of the screen:
Enter the name and email address of the person/s that need to take action on the document, and select the action required (needs signature, cc, etc)
For more than one recipient, select ‘Add Recipient’ and the action required.
If multiple recipients, you can choose ‘Signing Order’ or leave blank if all recipients receive envelope simultaneously
Click ‘Save’ to confirm.
Select the actions that are required on the document (free text box, signature, date signed, etc). Drag the action to the location it takes place on the document.
Each recipient is assigned a color, change the recipient by selecting the recipient box at the top left, and then select the action for that recipient. Use your cursor to drag the boxes to the appropriate spot on the document.
If you have selected a text box, the right pane will open up with formatting and validation options.
When all action boxes have been added, you are ready to send. Click ‘Send’ at the bottom of the screen.

Step Five: Document routing and storage information
Once sent, the document will route to all recipients identified
When the last action occurs (ex. signature), a completed document will be sent to all recipients and the sender
A signed version of the document will be stored in the Box.com folder indicated.