
Set Up Rules and Replies for Shared Mailbox
Quick Summary
- Create Email Rules for Shared Mailboxes
- Set up Automatic Replies from Shared Mailboxes
Overview
If you have Full Access to a shared mailbox, there are a few quick steps you can take to keep it organized. Adding rules and setting automatic replies to a shared mailbox is very similar to the process for an individual mailbox. The main difference is finding the mailbox settings to do it!
Request access to a shared mailbox with the Access Modification Form found on the Administrative IT website https://adminit.ucdavis.edu/desktop-support/forms
How to find shared mailbox settings
- Navigate to https://outlook.office.com/mail/ and login with your UC Davis email and passphrase.
Click the profile icon at the top right of the screen and click “Open another Mailbox”

- A small window will pop up. Enter the Display Name or email address of the shared mailbox. Then click Open.
- A new window will open in your browser containing only the shared mailbox.
Click the gear icon on the top right of the window near the profile icon.
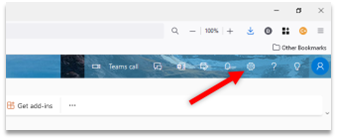
- Click “View all Outlook settings” on the bottom of the popup window.
Create a rule
- Once you’ve opened the shared mailbox settings, click the “Mail” Tab.
- Click “Rules”
- Click “Add new rule”
Name the Rule, add a condition, and add an action.
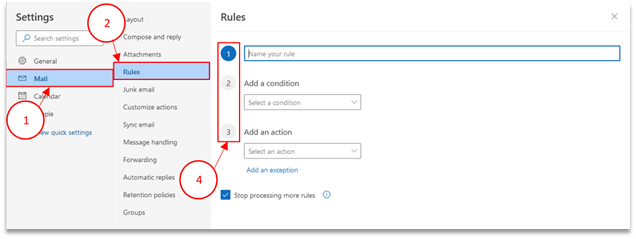
- Check “Run Rule Now” if you want this rule to apply to existing messages.
- Click “Save” at the bottom of the window.
Send automatic replies
- Once you’ve opened the shared mailbox settings, click the “Mail” tab.
- Click “Automatic replies”
Toggle “Automatic replies on”
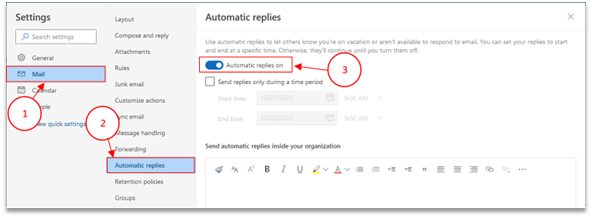
- There are a few options for when you want to send automatic replies.
- You can send replies during a set time period. This is a good idea if you want to send Out of Office Replies for emails received on Holidays or outside business hours.
- Or, you can have it send Automatic replies always.
- There are a few options for who you want to receive automatic replies.
- To people inside your organization: any @ucdavis.edu address.
- To people outside your organization: all [email protected] addresses.
- If you don’t want to send a message outside the organization, leave the “Send replies outside your organization” box unchecked.
- Once you’re done, click “Save” at the bottom of the window.