How to add a shared mailbox in Outlook (Windows)
Overview
Microsoft Outlook features the ability to open shared mailboxes in addition to your own personal email mailbox. This is often used by departments that utilize a shared departmental mailbox in which access is shared among the team. If you need to open an shared mailbox in Outlook, proceed with the steps below.
How-to
Note: Permission must be granted to the shared mailbox before a staff member can access the contents of a mailbox.
In New Outlook
Right-click your primary mailbox name in the left folder pane.

Select Add shared folder or mailbox.

Type the shared mailbox address. Click Continue.

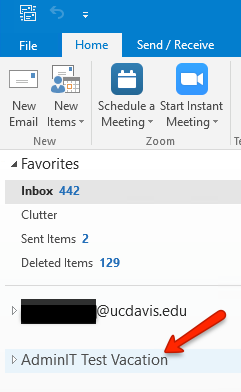
The shared mailbox will now automatically display in your Folder pane in Outlook.

In Outlook (Classic)
Click the File tab

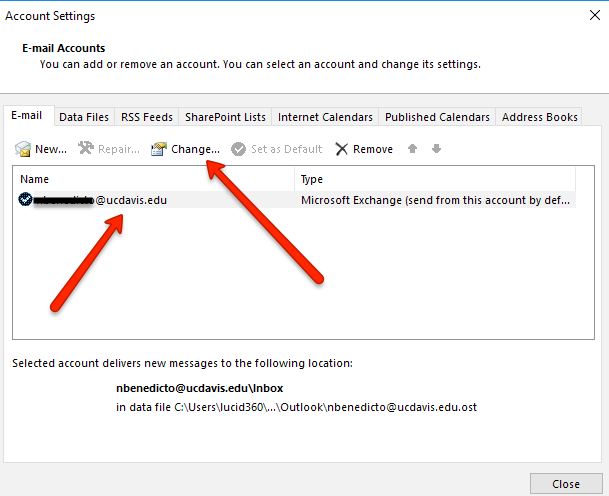
Click Account Settings > Account Settings.

Select your UC Davis email address in the account list and click Change
Click More Settings

Click the Advanced tab > Add
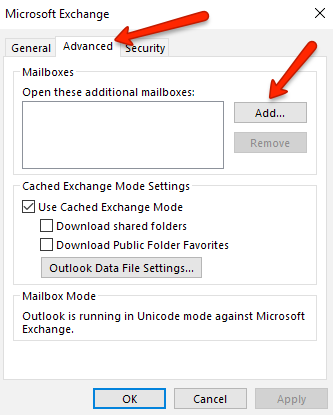
- Enter the email address of the shared mailbox and click OK.
- Click Apply > OK > Next > Finish.
The shared mailbox will now automatically display in your Folder pane in Outlook.