
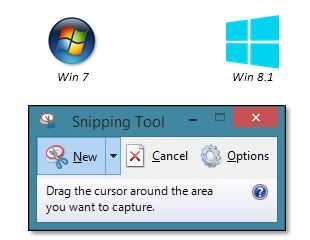
Snipping Tool
Save yourself 1,000 words by using the Windows Snipping Tool to capture and include a screenshot of your next email or document. This handy program can be found by clicking the Start Button and typing “Snipping Tool”, which will search for and find the application in whichever version of Windows you’re using.
Capture a screen clip by selecting New and then clicking and dragging around the area that you’d like to capture.
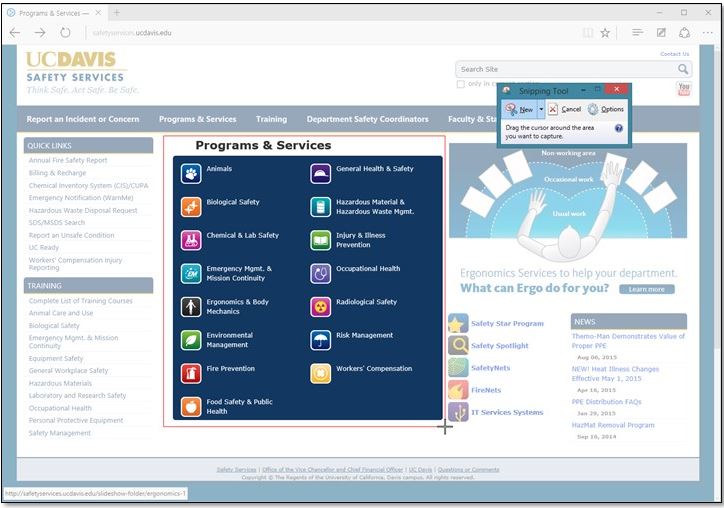
This selection can be saved as an image file by selecting Save As… from the File menu. Since the selection is copied to Windows’ clipboard by default, you can also simply paste the screenshot into a document or make changes to the image before saving by pasting it into your favorite image editor.

If you need to make a snip of an item that "pops up" and then disappears when you click elsewhere, you can use the delay button to give yourself up to 5 seconds to get the special pop-up to appear.
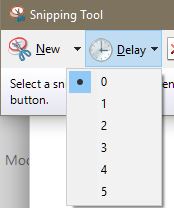
Once you determined the time needed (0-5 seconds), click "New" and get your special pop-up opened. Wait for the screen to "wash out" and then complete your snipping.
You can also use the pen, highlighter, and eraser to highlight areas on your snip.